 back |
 home |
 next |
Adding Tone
(no larger version)
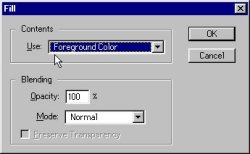
The actual adding of the toning should be done using the Edit => Fill option, not the Bucket tool. This is because Edit => Fill will fill whatever area you've selected, regardless of what's already there. This means you can use the <shift><b><Lasso> tool to select or fix areas you'd missed before, such as hiding smudgy fingerprints, eraser crumbs, or remnants of the pencils.
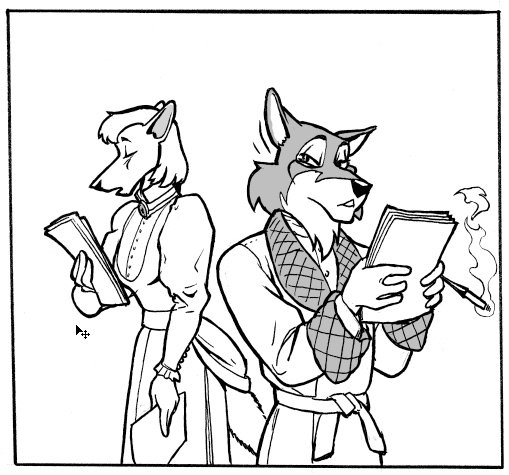
First Level of GrayOn the left we have the image with the first gray level filled in -- I tend to work from light to dark. |
Second Tone Value
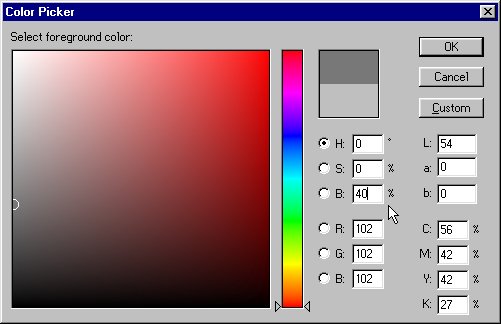
Select the second level of gray -- in this case I picked 40, or 60%. Remember to have contrast between the levels you chose, as otherwise a lot of the subtlety in shading will be lost in reproduction.
| this tutorial | ||||
back |
home |
next |
||
| Tutorials | ||||
 back |
 Home Page |
 next |
||