 back |
 home |
 next |
Scanning
After penciling and inking, you have to scan the image in order to get it into the computer. There are a couple of strategies to do so, but the end result must be the same: a 1 bit image of the highest resolution your equipment can produce. An unreduced comic book art board has a working surface of 10" wide by 15" tall. Unfortunately most commercially produced scanners have a scanning area of 9" by 12". One strategy is to scan the page one row at a time, then cut and paste the page back together.
Advantages are preservation of detail and no generation loss, a larger image which is easier to work with, and the scanner threshold can be adjusted to ignore poorly erased pencil artifacts.
The second strategy is to reduce the art to its final output size of 7" by 10" before scanning. The advantage of this strategy is the file size is reduced by at least half, you don't have to use the cut and paste treatment, and you get a first pass at the artwork.
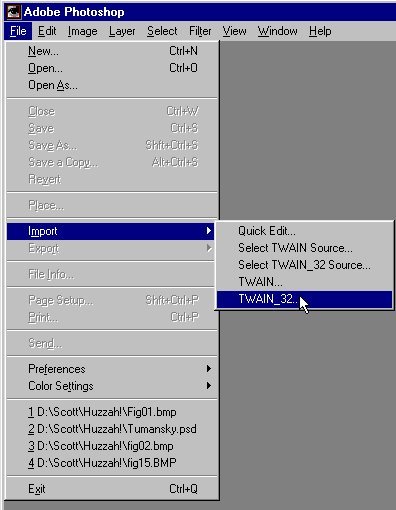
Many scanners come with their own front-end software, such as Ofoto, or Photoshop plug-ins such as Scan Wizard from Microtek. However, Photoshop has a native scanner plug-in which works with scanners using the TWAIN protocol. You should become familiar with the operation of your own peripherals, but in the event you scan using the service bureau equipment, make sure the scanner is on. Within Photoshop, pull down the file menu to the option Import, and in the sub menu pick TWAIN.
Image Files
For best image quality, scan the file as a "sharp black and white drawing" at the best resolution the scanner can manage. In the case of our example, I used 600 DPI, and it came out to be a 1.84 Mb file. Be forewarned file sizes will be pretty big, and get larger when you convert from a 1 bit file to an 8 bit grayscale field.
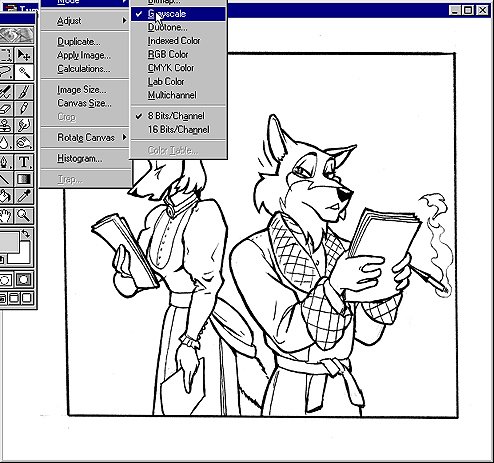
After scanning, open the file and change the mode by selecting Image => Mode => Grayscale, so you can use the Layers function. Use the Magic Wand tool to select the black lines, then use <ctrl><c> to copy it, followed by <ctrl><v> to paste it into a new layer. Another method is to duplicate the layer, using Duplicate Layer on the layer's palette and change its display type to Multiply and move it to the top. Hide the new layer, and only work on the Background layer. Also always remember to save your files as *.PSD files.
| this tutorial | ||||
back |
home |
next |
||
| Tutorials | ||||
 back |
 Home Page |
 next |
||