 back |
 home |
 next |
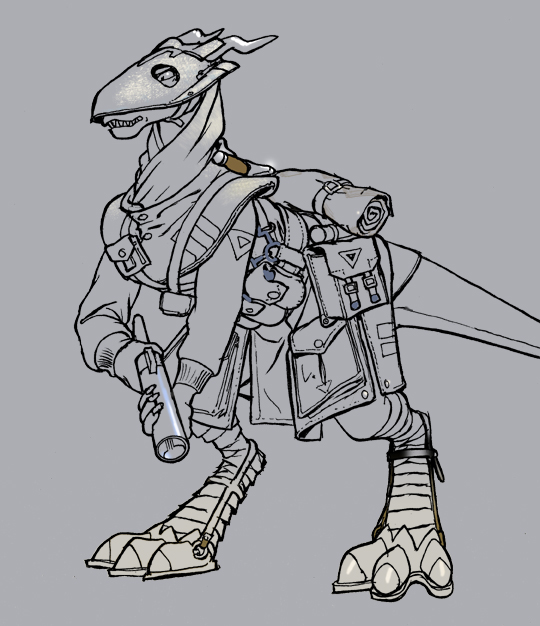
The final touches on the figure are done in the Highlight layer. This is where you can deepen the contrast, add more saturated colors, and put in details that would otherwise not appear in the lower two layers. The Highlight layer is a standard photoshop layer, and the opacity of the tools or the layer can be used to adust the effect.
Here you can see contrast and details picked out, as well as the addition of dust on the soldier's boots. I didn't do so in this graphic, but you can also put another layer above the top Inks layer, for things like blurs and lens flares.
| this tutorial | ||||
back |
home |
next |
||
| Tutorials | ||||
 back |
 Home Page |
 next |
||